
Why Does My Lace Not Melt Properly? The Real Reasons Your Lace Front Wig Still Looks Like a Wig
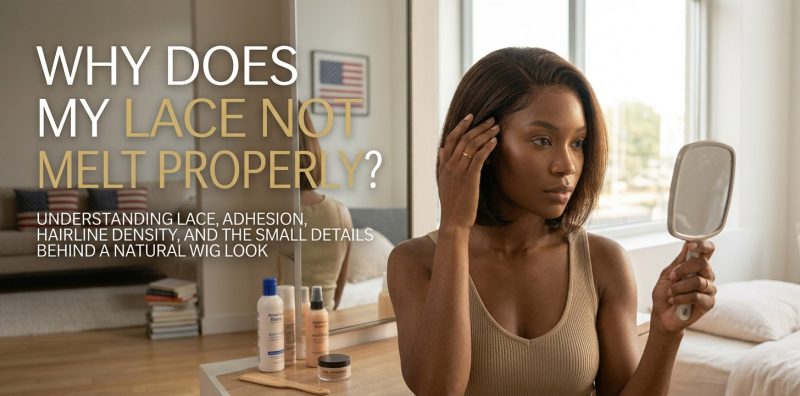
The Lace Is Expensive, The Wig Is Beautiful… So Why Can Everyone Still See It?
There is a moment many wig wearers know very well.
You finish installing your lace front wig.
The hair looks beautiful.
The curls are soft.
The part looks natural.
You spend extra time styling the baby hairs.
Then you step near a window.
Suddenly, you notice something.
The lace is still there.
Not completely obvious.
Not dramatic.
But just enough to make you think:
“Why does my lace not melt the way I see online?”
It is one of the most frustrating parts of wearing a lace wig.
Because many women assume the problem is the lace itself.
They think:
“Maybe I bought the wrong lace.”
“Maybe HD lace does not work for me.”
“Maybe my skin tone is the problem.”
But after years of working with wigs, I have learned something important:
A lace front wig does not become invisible because of one magic product.
The final result comes from several small details working together.
The lace material matters.
The hairline density matters.
The adhesive technique matters.
The preparation of your natural hair matters.
Even the lighting around you matters.
A lace front wig is a little like a beautiful piece of clothing.
Imagine wearing a perfectly tailored dress but leaving the price tag attached.
The dress itself is not the problem.
The small unfinished detail changes how people see the whole thing.
Lace works the same way.
The goal is not to make people believe you have no wig.
The goal is to create a smooth transition where the lace, hairline, and your own features work together.
What Does “Lace Melt” Actually Mean?
The Difference Between Visible Lace and Properly Blended Lace
The phrase “lace melting” is used everywhere in wig conversations.
But many beginners misunderstand what it means.
A melted lace appearance does not mean the lace disappears physically.
The lace is still a material.
It still exists.
What changes is how the eye perceives the transition.
A well-blended lace front wig creates a softer visual connection between:
- forehead;
- lace;
- hairline;
- individual hair strands.
When the transition is smooth, the viewer focuses on the hairstyle instead of the edge of the lace.
Why HD Lace Helps But Does Not Solve Everything
HD lace has become popular because of its thinner construction.
The purpose of HD lace is to create a more delicate appearance when placed against the skin.
Compared with thicker lace materials, HD lace can reduce the visible boundary between lace and forehead.
However, HD lace is not a shortcut.
A thin lace installed incorrectly can still look obvious.
Common reasons include:
- wrong lace tint;
- too much adhesive;
- incorrect placement;
- excessive hair density near the front;
- insufficient customization.
Think about a glass window.
A clean, clear window still reflects light if the angle is wrong.
The material matters.
But the environment matters too.
The Four Hidden Reasons Your Lace Is Not Melting Properly
Many women focus only on the final installation.
But the problem usually starts earlier.
Here are the four areas I check first when a lace front wig does not blend naturally.
Reason One: The Lace Color Does Not Match Your Skin Undertone
One of the most overlooked reasons lace remains visible is color mismatch.
Many people only think about skin tone.
But professional wig matching considers undertone.
Skin can have:
- warm undertones;
- cool undertones;
- neutral undertones.
Two women may have a similar skin depth but different undertones.
A lace that looks natural on one person may appear gray, orange, or ashy on another.
How Lace Tinting Works
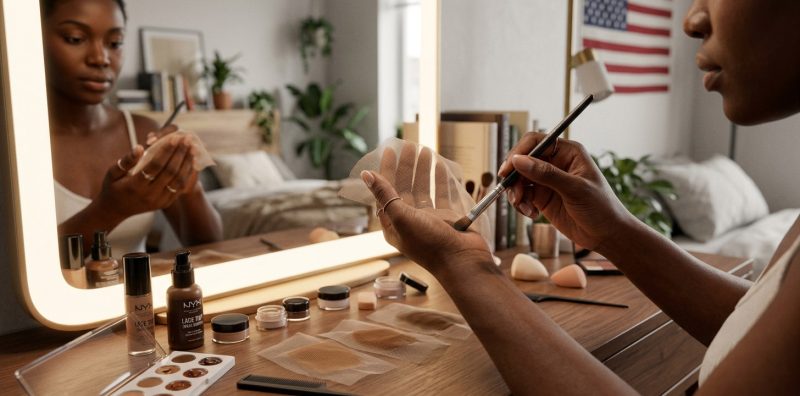
Lace tinting is the process of adjusting the lace color closer to your skin.
A careful approach usually includes:
Step 1: Test First
Do not immediately color the entire lace.
Test a small area.
Different lace materials absorb color differently.
Step 2: Use Gradual Color Adjustment
A common mistake is making lace too dark.
The goal is not creating a colored patch.
The goal is reducing contrast.
Step 3: Check Under Natural Light
Bathroom lighting can hide problems.
Window light often reveals:
- gray cast;
- orange tone;
- visible lace edge.
Reason Two: The Hairline Density Is Too Heavy
Sometimes the lace is fine.
The problem is the amount of hair attached near the front.
A natural hairline usually does not begin with maximum density.
Real hair gradually increases.
Many factory wigs are produced with fuller front density because:
- it looks attractive in photos;
- it creates a thicker appearance;
- it provides styling flexibility.
But too much density can make the hairline look like it begins suddenly.
The eye notices the transition.
Why Plucking Matters
Plucking is not about making the wig thin.
It is about creating a more natural density pattern.
A realistic hairline usually has:
Front edge:
- lighter density;
- softer transition.
Behind the hairline:
- gradually increasing fullness.
The mistake many beginners make is over-plucking one area.
A natural hairline needs balance.
A Helpful Resource Before Installing Lace
For beginners, installation technique often creates the biggest difference.
A lace front wig can look completely different depending on:
- preparation;
- adhesive placement;
- drying time;
- pressure applied during installation.
MsAloe’s guide on installing lace wigs provides additional background on glue installation methods:
Reason Three: Your Adhesive Technique Is Changing How the Lace Looks
Many people think lace installation is simply:
Apply glue → press lace down → wait → style.
But the reality is much more delicate.
Adhesion is not only about making the wig stay attached.
It also affects how the lace sits against your skin.
When adhesive is applied incorrectly, the lace may create small visual problems:
- raised edges;
- cloudy areas;
- uneven transparency;
- visible texture.
A good lace installation is a balance between security and flexibility.
Understanding Wig Adhesive: Why More Glue Does Not Mean Better Melting
One of the most common mistakes I see is using too much adhesive.
It feels logical:
“If more glue holds stronger, more glue should make the lace disappear.”
But the opposite can happen.
Too much adhesive can create:
- a thicker layer between skin and lace;
- a shiny appearance;
- uneven drying;
- visible buildup.
The lace needs to sit close to the skin.
A thick adhesive layer creates distance.
And distance creates shadows.
Those small shadows are often what make lace noticeable.
The Importance of Drying Time
Adhesive needs time to become transparent and properly bonded.
A common installation mistake is pressing the lace down while the adhesive is still wet.
This can cause:
- white residue;
- lace movement;
- uneven attachment.
Different products have different drying behaviors.
Some adhesives become tacky quickly.
Others require multiple thin layers.
The goal is usually controlled layering.
Not one thick application.
The “Thin Layer Method”
A professional approach often looks like this:
Step 1:
Prepare clean skin.
Oil, moisturizer, sweat, and skincare residue can interfere with adhesion.
Step 2:
Apply a thin adhesive layer.
Avoid creating a thick border.
Step 3:
Allow proper drying time.
The surface should reach the correct tackiness before placing lace.
Step 4:
Press lace gently.
Too much pressure can push adhesive through lace holes.
This creates a visible texture.
Sweat, Humidity, and Skin Chemistry
Two women can install the same wig using the same method and get different results.
Why?
Because skin chemistry changes.
Factors include:
- natural oil production;
- humidity;
- exercise;
- skincare products.
For example:
Someone with oily skin may notice lace lifting faster around:
- forehead;
- temples;
- hairline corners.
Someone living in a humid climate may need a different preparation routine than someone living in a dry area.
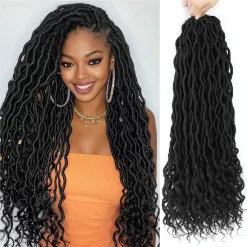

Synthetic Extensions
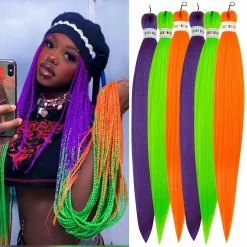

Synthetic Extensions
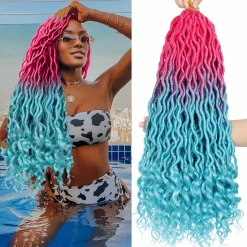

Synthetic Extensions
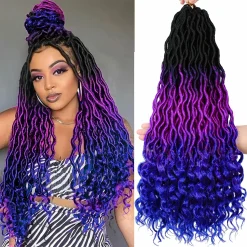
Synthetic Extensions

Reason Four: The Lace Placement Does Not Follow Your Natural Hairline
A lace wig should not simply be placed on the forehead.
It should follow the natural structure of your face.
This sounds simple.
But many installation problems happen because the lace is positioned too far forward or too far back.
Finding Your Natural Hairline Position
Your natural hairline is not always a straight line.
Most people have:
- small curves;
- temples;
- slight irregularities.
A wig that creates a perfectly straight artificial line can look unnatural.
The goal is not perfection.
The goal is believable.
The Temple Area: Where Many Installations Fail
The temples are one of the most difficult areas.
Why?
Because the hairline naturally changes direction there.
Common mistakes:
- placing lace too low;
- creating sharp corners;
- leaving too much density.
A softer temple transition often creates a more realistic appearance.
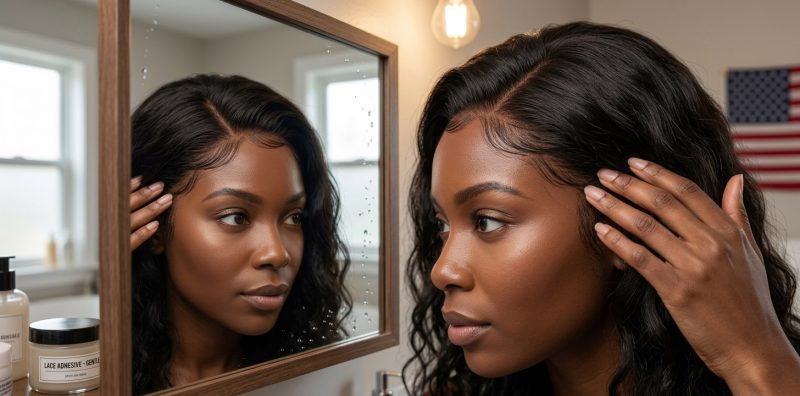
Baby Hair: Helpful or Harmful?
Baby hairs can improve realism.
But they are often misunderstood.
The purpose of baby hair is not decoration.
Natural baby hairs are:
- fine;
- irregular;
- not perfectly symmetrical.
Too much baby hair can actually make a wig look more obvious.
The goal is subtle blending.
The Four “Giveaway” Dimensions That Reveal Lace Is Not Melted
When someone says:
“I can still see my lace.”
They are usually noticing one of these four visual signals.
Dimension One: The Lace Edge Is Creating a Visible Border
A natural lace transition should gradually disappear.
A visible border often happens because:
- lace color does not match;
- adhesive is uneven;
- lace is too thick for the lighting;
- the edge is not properly trimmed.
Solution:
Check the lace edge under different lighting.
Especially:
- sunlight;
- car lighting;
- restaurant lighting.
Indoor bathroom lighting can be misleading.
Dimension Two: The Hairline Starts Too Suddenly
Natural hair grows gradually.
A wig hairline with dense hair immediately at the edge creates a “manufactured” appearance.
Solution:
Create density variation.
The front should feel softer.
The middle area can gradually become fuller.
Dimension Three: The Lace Texture Is Visible Because of Product Buildup
Sometimes the lace itself is not the issue.
The issue is what sits on top of it.
Examples:
- too much mousse;
- heavy foundation;
- excess adhesive;
- styling spray residue.
These products can collect around lace holes.
The result:
The lace catches light differently.
Dimension Four: The Hair Direction Does Not Match Natural Growth
Even invisible lace can look unnatural if the hair direction feels wrong.
Natural hair has movement.
A wig needs:
- realistic part direction;
- natural root lift;
- appropriate styling.
The hairline and hair movement must tell the same story.
Real Case Study One: Jasmine’s HD Lace Still Looked Visible
Jasmine purchased an HD lace front wig because she wanted a natural everyday style.
She followed installation tutorials carefully.
She cleaned her skin.
She applied adhesive.
She secured the lace.
But she still felt uncomfortable.
Her words were:
“It looks good in my room, but outside I can see the line.”
When examining the installation, the problem was not the lace quality.
The problem was contrast.
The lace tone was slightly lighter than her skin undertone.
Under warm indoor light, it looked fine.
Under natural sunlight, the difference became noticeable.
The adjustment:
Step 1:
The lace was lightly tinted closer to her undertone.
Step 2:
The front density was softened.
Step 3:
The adhesive layer was reduced.
After adjustment, the wig did not become a different wig.
The installation simply became more harmonious.
Real Case Study Two: Angela’s Lace Lifted Because of Preparation
Angela loved wearing wigs during long workdays.
Her problem was different.
Her lace looked beautiful in the morning.
By afternoon:
- the corners lifted;
- the edge became visible;
- the front looked uneven.
She originally thought:
“I need stronger glue.”
But the actual problem was preparation.
Before installation, she was applying moisturizer close to the hairline.
The skincare product created a barrier.
The adhesive could not properly bond.
The solution:
Step 1:
Move skincare products away from the installation area.
Step 2:
Clean the hairline before applying adhesive.
Step 3:
Allow each layer enough drying time.
The lesson:
Sometimes lace problems are not about buying a different wig.
They are about understanding the relationship between skin, adhesive, and lace.
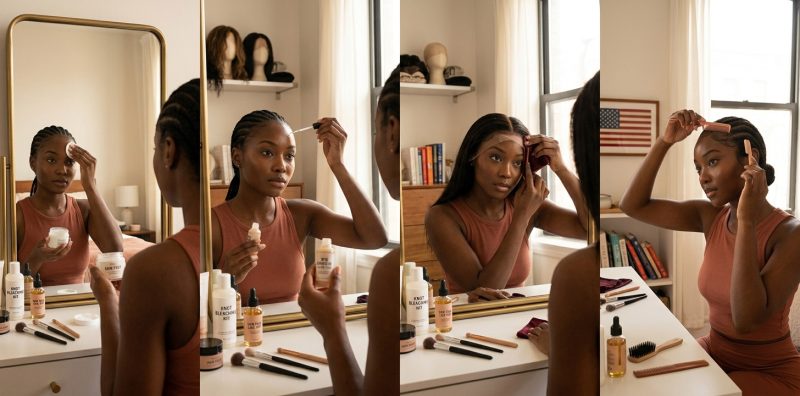
The Professional Lace Melt Sequence: A Step-by-Step Method for a More Natural Hairline
A natural-looking lace installation is not created by one product.
It comes from a sequence.
Small steps create the final effect.
Many beginners focus on the last moment:
“Does my lace look invisible?”
But the better question is:
“Did I prepare every layer correctly before reaching that moment?”
Here is a professional sequence that many experienced wig wearers follow.
Step 1: Prepare Your Natural Hair and Skin
Before touching adhesive, prepare the foundation.
The lace needs a smooth surface.
Start with your natural hair.
Make sure:
- braids are flat;
- no large bumps exist under the cap;
- edges are protected.
A small bump near the forehead can create a shadow under lace.
That shadow makes the lace appear thicker.
Skin Preparation Matters More Than Many People Realize
Your forehead is part of the installation surface.
Before applying adhesive:
Remove:
- moisturizer;
- facial oils;
- sunscreen residue;
- makeup around the hairline.
A clean surface allows better contact.
This does not mean drying your skin completely.
Healthy skin is still important.
The goal is simply removing products that create a barrier.
Step 2: Customize the Lace Before Installation
Many beginners install the wig first and customize later.
But some details are easier to adjust before wearing.
Check:
Lace Color
Compare lace against your skin.
Check:
- natural daylight;
- indoor lighting;
- camera view.
Hairline Density
Look at the front.
Ask:
Does the hair begin too suddenly?
Does the front look heavier than your own hairline?
Small customization can create a softer transition.
Step 3: Create a Thin and Even Adhesive Layer
Adhesive should support the lace.
It should not become a visible layer.
A common mistake is creating a thick white or shiny border.
Instead:
- apply thin layers;
- allow drying time;
- avoid rushing.
The lace needs to sit close to the skin.
Step 4: Place Lace With Controlled Pressure
When placing lace:
Avoid pressing aggressively.
Too much pressure can force adhesive upward through the lace holes.
This can create:
- white spots;
- uneven texture;
- visible buildup.
Use gentle, even pressure.
The goal is contact.
Not compression.
Step 5: Blend the Hairline After Installation
After the lace is secured:
Look at the front.
Adjust:
- baby hairs;
- parting;
- face framing;
- hair direction.
Remember:
A realistic hairline is not perfectly symmetrical.
Small irregularities often create realism.
How To Check If Your Lace Looks Natural in Real Life
A wig can look perfect in a bedroom mirror.
Then completely different outside.
This happens because light changes everything.
The Sunlight Test
Stand near a window.
Check:
- lace edge;
- forehead transition;
- hairline density.
Sunlight reveals contrast.
If the lace looks slightly gray or visible:
The issue may be color matching.
The Movement Test
Move naturally.
Turn your head.
Smile.
Talk.
A realistic wig should move with you.
Pay attention to:
- lifting corners;
- unnatural stiffness;
- lace separation.
The Camera Test
Take photos from:
- front;
- side;
- slightly above.
Sometimes your eyes adjust when looking in the mirror.
A photo can reveal details you missed.
Choosing the Right Lace Wig Construction
Not every lace wig solves the same problem.
Different constructions create different experiences.
HD Lace Front Wig
HD lace is designed for a delicate appearance.
It is often chosen by people who want:
- softer hairline transition;
- realistic parting;
- less visible lace boundary.
MsAloe’s HD lace wig collection includes different lace constructions for customers comparing styles and coverage options:
https://www.msaloe.com/category/wigs/hd-lace-wigs
Full Lace Wig
Full lace wigs provide more styling flexibility because lace covers more of the cap.
They can allow:
- more parting options;
- different styling directions;
- more versatility.
However, more lace also means installation technique becomes more important.


HD lace wigs
Pre-bleached Knots Straight HD Lace Frontal Wig 180% Density 6×5 Pre-cut Lace Wear & Go Glueless Wig

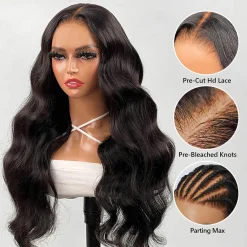
HD lace wigs

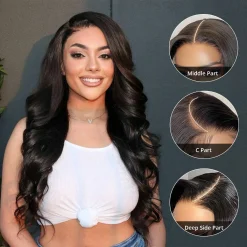


HD lace wigs
Glueless Straight Short Bob Wigs Brazilian Clear Lace 180% Density Hd Closure Wig Human Hair

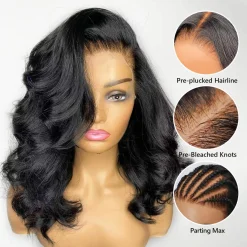
HD lace wigs
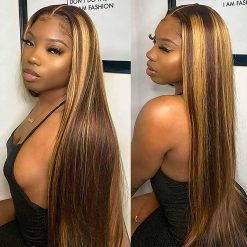

FAQ: Why Does My Lace Not Melt Properly?
Why can I still see my lace even though I bought HD lace?
HD lace can reduce visibility, but it cannot replace proper customization.
Possible reasons:
- wrong lace shade;
- heavy hairline density;
- incorrect adhesive;
- poor placement.
The lace material is only one part of the final look.
Why does my lace look white after installation?
A white appearance often comes from:
- adhesive not fully dried;
- too much product;
- residue trapped in lace holes.
Try using thinner adhesive layers and allowing proper drying time.
Why does my lace look good indoors but bad outside?
Different lighting reveals different details.
Natural sunlight shows:
- color mismatch;
- texture differences;
- visible edges.
Always test your wig in multiple lighting environments.
Should I use more glue if my lace lifts?
Not always.
More adhesive may create additional problems.
First check:
- skin preparation;
- drying time;
- product compatibility;
- installation pressure.
The solution is often technique, not quantity.
How often should I reinstall my lace front wig?
It depends on:
- adhesive type;
- lifestyle;
- skin condition;
- maintenance habits.
Someone wearing a wig occasionally may have a different routine than someone wearing one daily.
Can beginners make lace melt successfully?
Yes.
But it takes patience.
The biggest improvement usually comes from understanding:
- your skin tone;
- your lace type;
- your hairline;
- your installation habits.
A Note From One Woman To Another
There is a funny thing about lace wigs.
The smallest details often create the biggest emotions.
A tiny lace edge.
A slightly different color.
A few extra hairs near the forehead.
These details may seem invisible when we look closely.
But they change how confident we feel.
Many women start wearing wigs because they want convenience.
Some want to try a new style.
Some want to protect their natural hair.
Some simply enjoy the feeling of changing their look.
Whatever the reason, the goal is not creating a perfect illusion.
The goal is creating a hairstyle that feels comfortable and natural to you.
A lace front wig should not make you spend the whole day worrying:
“Can people tell?”
Instead, after a good installation, you should be thinking about your day.
Your meeting.
Your dinner.
Your plans.
The wig becomes part of your routine instead of something you constantly adjust.
Lace melting is not about hiding.
It is about creating harmony between:
your face,
your hairstyle,
your comfort,
and your personal expression.
